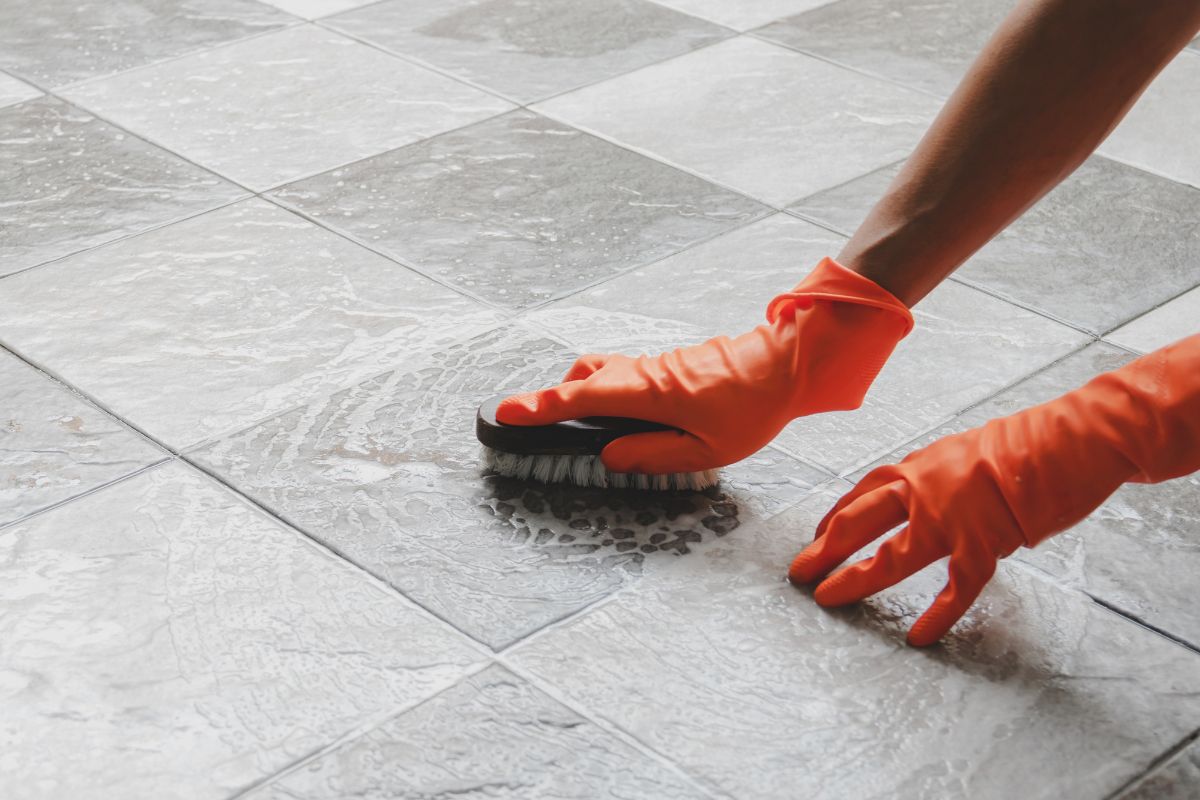
Are you tired of the grime and stains on your beautiful tiled surfaces? Keeping your tiles looking pristine doesn’t have to be a daunting task. In this comprehensive guide, we’ll provide you with the best guidelines and hacks for cleaning and preserving your tiled surfaces, ensuring they stay as good as new for years to come. However, you can also consider outdoor tile cleaning service or indoor tile cleaning service as per your needs.
The Basics of Tile Surface Care
Before diving into the hacks, it’s essential to understand the fundamentals of tile surface care. Tiles come in various materials, such as ceramic, porcelain, and natural stone, and each requires a different approach. We’ll cover these basics to get you started on the right track.
1. Regular Maintenance
The key to long-lasting tile surfaces is consistent maintenance. Sweep or vacuum debris regularly to prevent scratches and wear.
2. Choosing the Right Cleaning Products
Not all cleaning products are suitable for all tiles. Learn which products work best for your tile type to avoid damage.
3. Grout Cleaning
Dirty grout can make your tiles look dull. Discover effective grout cleaning techniques to restore your tile’s beauty.

Hacks for Sparkling Tiles
Now that you know the basics let’s dive into some ingenious hacks to make your tile surfaces shine.
1. Baking Soda and Vinegar
Create a natural cleaning solution by mixing baking soda and vinegar. Apply it to your tiles, scrub gently, and watch the stains disappear.
2. Steam Cleaning
Invest in a steam cleaner to effortlessly remove dirt and grime from your tiles, without the need for harsh chemicals.
3. Lemon and Salt
Use the natural acidity of lemon combined with salt to tackle tough stains and give your tiles a refreshing scent.
Stepwise Cleaning Idea For Tiled Surfaces
Cleaning tiled surfaces can be a relatively straightforward task when done systematically. Here’s a step-by-step guide to help you clean tiled surfaces effectively:
Materials you’ll need:
- Broom or vacuum cleaner
- Mop and bucket
- Warm water
- Mild detergent or tile cleaner
- Soft-bristle brush or scrubbing pad
- Microfiber or lint-free cloth
- Rubber gloves
- Grout brush (if applicable)
- Grout cleaner (if applicable)
Step 1: Preparation
– Clear the tiled area of any loose debris, such as dust, dirt, or crumbs. You can use a broom or a vacuum cleaner with a soft brush attachment for this.
Step 2: Dry Sweep
– Sweep or vacuum the tiled surface to remove any remaining loose dirt and debris. This prevents the dirt from turning into mud when you start mopping.
Step 3: Mix Cleaning Solution
– Fill a bucket with warm water. Add a mild detergent or a tile cleaner as per the manufacturer’s instructions. Avoid using harsh chemicals that could damage the tiles.
Step 4: Pre-treat Stains (if needed)
– If you have stubborn stains or grout discoloration, consider pre-treating these areas with a specialized stain remover or a mixture of baking soda and water. Allow it to sit for a few minutes before scrubbing gently with a soft-bristle brush.
Step 5: Start Mopping
– Dip a mop into the cleaning solution and wring it out until it’s damp but not dripping wet.
– Mop the tiled surface, starting from one end and working your way to the other. Be sure not to leave excess water on the tiles, as this can damage grout and tile surfaces over time.
– For particularly dirty areas, you may need to use a bit more pressure while mopping.
Step 6: Scrub Grout Lines (if needed)
– If your tiled surface has grout lines and they are stained or dirty, use a grout brush and grout cleaner to scrub them. This may require a bit of elbow grease to get the grout clean.
Step 7: Rinse
– Empty the bucket and fill it with clean, warm water.
– Rinse the mop thoroughly and wring it out.
– Mop the tiled surface again with clean water to remove any remaining soap residue.
Step 8: Dry the Surface
– Use a clean, dry microfiber or lint-free cloth to dry the tiled surface. This helps prevent water spots and streaks from forming.
Step 9: Final Inspection
– After the tiles are dry, inspect the surface for any remaining stains or spots. If necessary, repeat the cleaning process for problem areas.
Step 10: Routine Maintenance
– To keep your tiled surfaces looking clean, regularly sweep or vacuum to remove loose dirt and mop with a mild cleaning solution as needed. Avoid using abrasive tools or harsh chemicals that could damage the tiles or grout.
Remember that the frequency of cleaning will depend on the level of use and the type of tiles you have. For high-traffic areas, more frequent cleaning may be necessary to maintain their appearance.
Conclusion
Achieving and maintaining sparkling clean tiles isn’t as challenging as it may seem. With the right knowledge and a few simple hacks, you can preserve the beauty of your tiled surfaces effortlessly. Remember to follow our guidelines, choose the appropriate cleaning methods, and say goodbye to dirty tiles. Enjoy the long-lasting allure of your immaculate tile surfaces!
Published on: September 16, 2023
Last updated on: April 28, 2025
